How to Sanitize an RV Fresh Water Tank the Right Way
Disclosure: This article contains affiliate links. If you buy through these links, we may earn a commission at no extra cost to you. We do not claim hands-on testing unless clearly stated.
A tank that's sat in storage, been filled from an unknown source, or just smells "off" needs sanitizing before it's drinking water again — and most guides skip the prep step that saves the most rework. This covers what sanitizing involves, why bypassing the water heater matters, how bleach concentration changes your dose, and how to confirm it worked instead of guessing. Not covered: winterizing — see our guide to winterizing an RV water heater — or an unrelated pump or heater fault.
Quick Answer / What You'll Need
You'll need plain, unscented household bleach (concentration matters — more below) or a bleach-free tank sanitizer, a way to get it into the tank, a way to confirm the chlorine level afterward, and a water heater bypass valve if your rig has one. Exact quantity depends on tank size and bleach concentration — covered below, not guessed at here.
Sanitizing means working with a pressurized water system, often in a confined space — your owner's manual covers the specific pump and valve handling for your rig.
Before You Sanitize — What to Check First
A few checks before you mix anything save time and protect other parts of the system:
- Bypass the water heater if your rig has a bypass valve. Skipping it means heating an extra 6–10 gallons for no benefit, or leaving chlorine against the anode rod longer than needed. See our water heater bypass valve guide if you're unsure whether your rig has one.
- Remove or bypass any inline water filter. Chlorine degrades most filter media and can leave a taste behind. Our RV water filter buying guide compares flow rate, filtration rating, and certification across common filter types if you're not sure which one you have.
- Check your bleach bottle's labeled concentration. Household bleach isn't sold at one fixed strength — the ratio below assumes a specific one, and a different bottle changes the dose.
- Confirm the bleach is plain and unscented, with no added cleaners. Scented and "splash-less" formulas are worth avoiding for this job.
What Sanitizing Involves
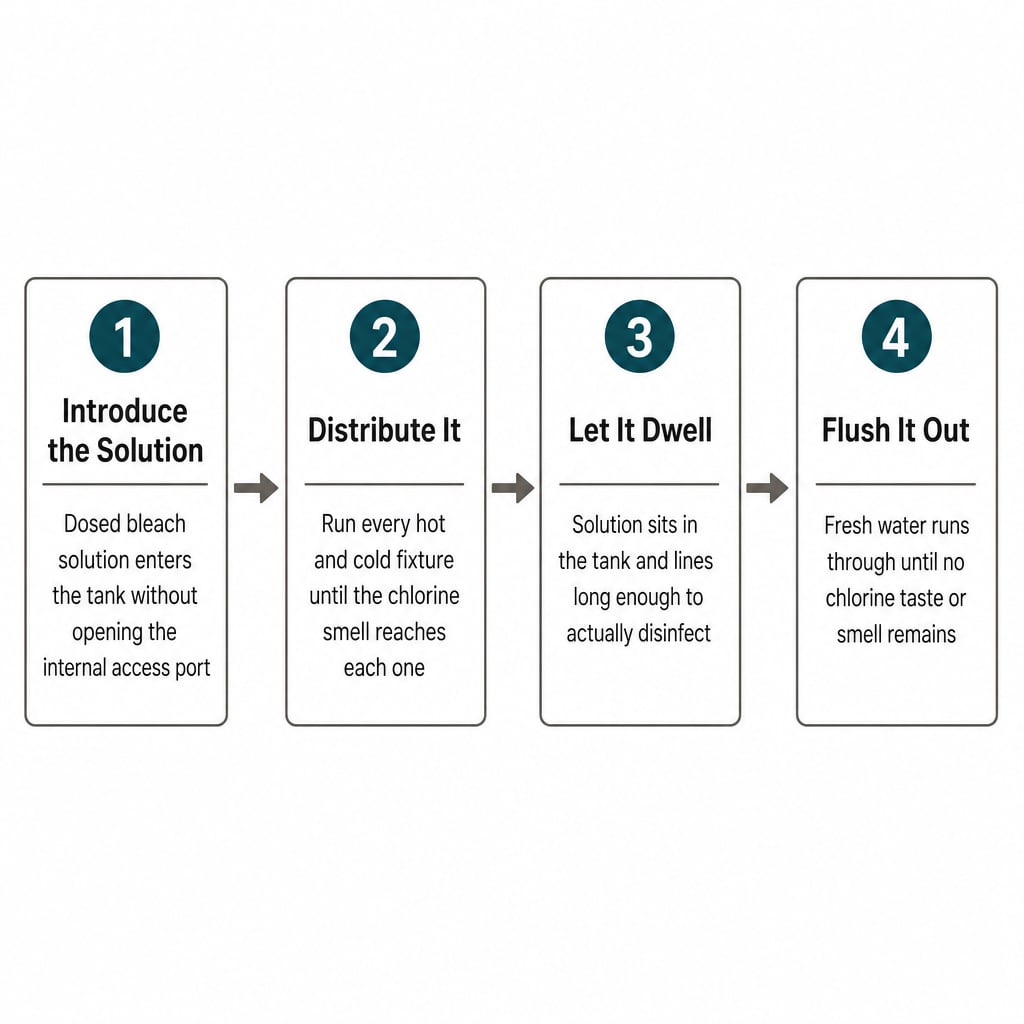
Treat this as a sequence of phases, not a single action — skipping or reordering one costs more time than it saves.
Introducing the Sanitizing Solution
The first phase gets a chlorine solution into the tank — ideally without opening the internal access hatch.
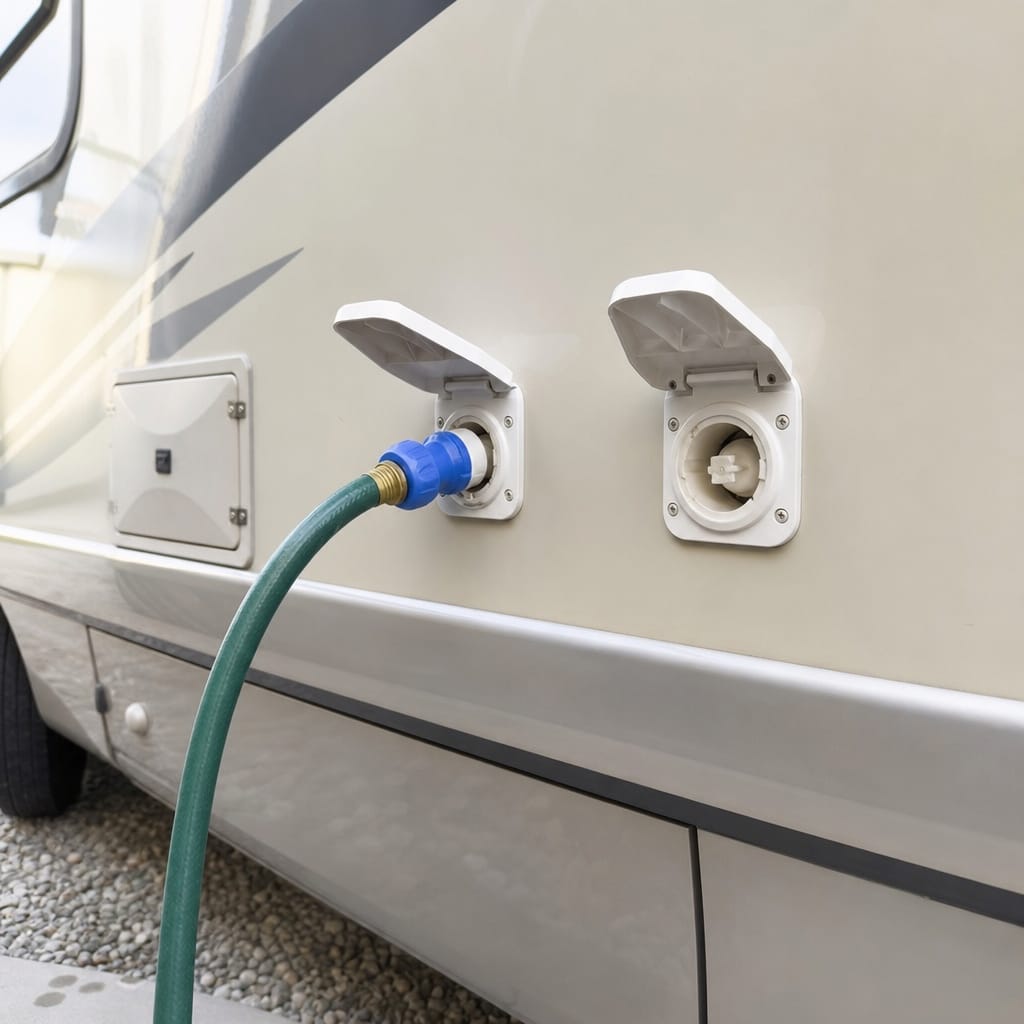
The RV Inline Sanitizer connects between a garden hose and the city-water inlet, so solution enters through the fill port normally used. It's a delivery mechanism, not a disinfectant — you still supply and dose the bleach correctly.
On dosage: owner's manuals for RVs like the Winnebago Travato and the Jayco Terrain both call for the same method — mix 1/4 cup of plain household chlorine bleach into one gallon of water, then use one gallon of that diluted solution per 15 gallons of tank capacity. Both assume regular, unscented bleach (5–6% sodium hypochlorite, the concentration on most bleach labels) and target roughly 50 ppm of chlorine. Camping World's own guide uses the same two-tier structure — a standard ratio with a four-hour dwell, or roughly double the concentration with a one-hour dwell — diluted the same way before it goes in.
A different-strength bottle or an unusual tank shape can change how much solution you need — treat these as a starting point, not a guarantee, and check your own manual if your rig has one.
Distributing the Solution Through the System
Run every fixture — hot and cold — until you smell chlorine at each one, confirming it reached the line, not just the tank. This is also where a bypass matters most: skip it, and solution sits against the anode rod for the full dwell period, a part with its own wear profile.
Dwell Time
Contact time is what disinfects — flushing right away defeats the point. All three sources tie dwell time to concentration: about four hours at the standard ratio, or as little as one hour if you roughly double the bleach. Don't exceed about 24 hours either way.
Flushing the System
Drain and refill with fresh water, running each fixture until the chlorine smell is gone. That can take more than one fill-and-flush cycle — judge by smell and taste, not a fixed volume.
Confirming It Worked
Smell fading is a sign, not proof.
AquaChek Yellow 4-Way test strips measure free chlorine, pH, total alkalinity, and stabilizer. The manufacturer's product page lists a free chlorine range of 0–10 ppm and a pH range of 6.2–8.4. These are pool/spa strips, not drinking-water-labeled — the chemistry is the same, but treat this as a measurement tool, not an endorsement of pool chemicals for drinking water.
What a good listing should specify: the strip's actual ppm range and shelf life once opened — a strip that tops out below the concentration you dosed to won't tell you anything useful.
After a full flush, a fresh reading should sit back down in a normal tap-water range, not the elevated level you dosed to.
A Bleach-Free Alternative
If you'd rather not handle or store bleach at all, there's a genuinely different chemical route.
Thetford's Fresh Water Tank Sanitizer Detergent and Treatment (36662) is EPA-registered and uses "sanitizer" language directly on the manufacturer's site, unlike the vaguer "clean" or "deodorize" claims on some flush products. It's a separate procedure with its own dosing and contact time — the full method belongs to our full bleach-free sanitizing method guide.
Choose bleach if you want the lowest-cost, most widely available option. Choose bleach-free if you'd rather not handle bleach at all and don't mind paying more.
Which Approach Fits You
| Bleach + inline device | Bleach + manual funnel | Bleach-free (Thetford) | |
|---|---|---|---|
| Skips opening the access hatch | Best fit | Poor fit | Best fit |
| Avoids handling bleach entirely | Poor fit | Poor fit | Best fit |
| Lowest cost | Workable | Best fit | Poor fit |
| Needs a bypass valve to avoid wasting solution | Workable | Workable | Workable |
Common Mistakes
Mistake 1: Skipping the Water Heater Bypass
What it looks like: Sanitizing without checking for a bypass valve.
Why it's a problem: You heat and flush extra gallons for no benefit, and chlorine sits against the anode rod longer than necessary.
What to do instead: Check for a bypass valve first.
Mistake 2: Using a Ratio Without Checking Bleach Concentration
What it looks like: Copying a ratio without checking what concentration it assumes.
Why it's a problem: Most ratios assume one specific strength, usually 5–6%. A different bottle changes the actual dose.
What to do instead: Read the bleach label first.
Mistake 3: Leaving an Inline Filter in Place
What it looks like: Running the solution with a drinking or refrigerator filter still installed.
Why it's a problem: Chlorine degrades most filter media and leaves a taste behind.
What to do instead: Remove or bypass it first — see removing or bypassing your inline filter.
Mistake 4: Stopping at "It Doesn't Smell Like Chlorine Anymore"
What it looks like: Ending the flush once the smell fades.
Why it's a problem: Smell is a rough indicator, not a measurement.
What to do instead: Run a test strip on the flushed water instead.
Who Should Skip the Bleach Method
- Anyone who'd rather not handle or store household bleach — use the bleach-free route instead.
- Anyone whose owner's manual advises against bleach for their tank material or built-in sanitizing system — follow the manual.
- If unsure, the more conservative choice is to skip the bleach method.
Tools and Products That Help
- Inline sanitizing device — RV Inline Sanitizer, for introducing solution without opening the access hatch
- Chlorine test strips — AquaChek Yellow 4-Way, for confirming the flush worked
- Bleach-free alternative — Thetford 36662, EPA-registered, for readers who'd rather skip bleach entirely
FAQ
How much bleach do I need to sanitize an RV fresh water tank?
It depends on concentration and tank size — see "Introducing the Sanitizing Solution" above for the sourced ratio.
Do I need to bypass my water heater before sanitizing?
If your rig has a bypass valve, yes — see our guide to bypassing your water heater.
How long should the sanitizing solution sit in the tank?
At least four hours at the diluted ratio, less at a stronger one — never past about 24 hours.
How do I know the tank is safe to use again?
Smell fading is a rough sign, not proof — a test strip reading back in a normal range after a full flush is the better check.
Will sanitizing damage my water filter?
It can shorten filter media life and leave a taste behind, which is why removing it first is a prep step. See our RV water filter buying guide.
Can I sanitize my RV's fresh water tank without bleach?
Yes — see our bleach-free sanitizing guide.
Sources Reviewed
For the ratio and dwell time, we reviewed the 2026 Winnebago Travato and 2023 Jayco Terrain owner's manuals, plus Camping World's sanitizing guide, all fetched directly. For the test strips, we reviewed AquaChek's own product page. For the bleach-free alternative, we reviewed Thetford's own manufacturer page for its EPA-registration language. All three product ASINs were verified directly against their Amazon listings.
Related Guides
- RV water filter buying guide
- Full bleach-free sanitizing method
- Water heater bypass valves
- Water heater anode rod options
- How to winterize an RV water heater